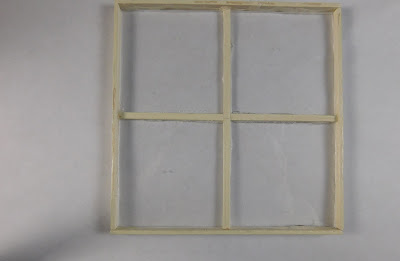
This
week we are making a window to use in the project that I plan to
start next week. This is a really simple window, nothing that opens.
And again we are just finishing the front side since there won't be
an interior that we can see on the project. If you need a window with
a finished back side just repeat the same steps on the reverse side.
My
window was cut from the same piece of leftover plexi-glass that I
used for the door. I cut it 4 ½” square.
I
used some strip wood that was about 1/8” wide by 1/16” thick for
the interior strips. I glued them on and cut to size after the glue
set. The outer “frame” was just skinny sticks.
I
did pre-paint all the pieces of wood with an ivory craft paint then
coated with satin Mod Podge. We will be making the visible outer
window frame when we install the window.
I
used Beacon 3-in1 glue for this project. I found in a quick test that
it held the wood to the plastic and did not fog the plastic. I hope
that the hold will remain over time since I haven't been using this
glue for a long time I am going by what others have said about it
lasting.

No comments:
Post a Comment